For initial operation, please follow the steps below first:
1. Before using the R58/135 for the first time, fully charge the battery. A detailed description of how to charge the battery can be found in chapter 3.9 "Charging the R58/135".
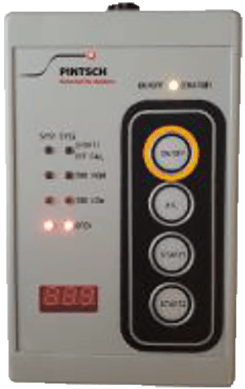
2. Press the ON/OFF button to switch on the R58/135
a)
> 2 seconds
3. Set the desired wheel sensor type.
To set the desired wheel sensor type, please proceed as follows:
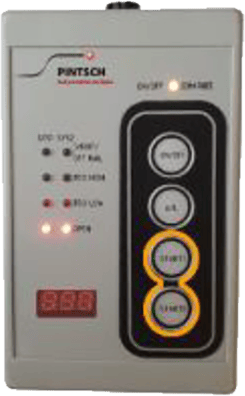
a. Press the START1 (6) and START2 (7) buttons simultaneously for about 3 seconds. After releasing both buttons, the currently set wheel sensor type is shown on the 7-segment display (3).
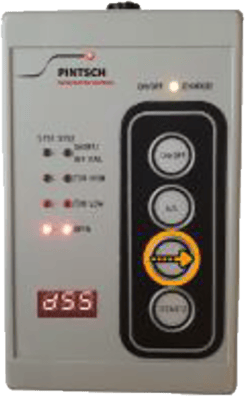
b. Press the START1 button (6) repeatedly until the correct wheel sensor type is displayed. The wheel sensor types that can be set are:
Name
Type
DSS250-40 (DSS-200-40*)
8V, 3,2mA, constant current
DSS250-45CU (DSS-200- 45CU*)
8V Namur
DSS250-45C I(DSS-200- 45CI*)
8V, 3,2mA, constant current
DSS500-40 (DSS-400-40*)
10V, 5,0mA, constant current
* The R58/135 can also be used to adjust 200 and 400 series wheel sensors. For details please refer to chapter 3.4 "Adjusting wheel sensors of the 200 and 400 series".
On the DSS250-45, "CU" stands for constant voltage (NAMUR) and "CI" for constant current operation.
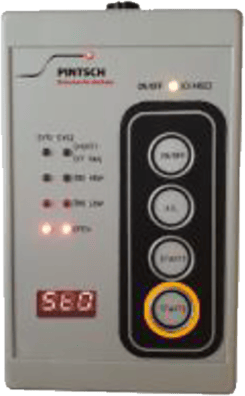
c. Press the START2 button (7) until "STO" appears on the 7-segment display (3). After releasing the button, the new wheel sensor type is set.
The set wheel sensor type is stored in the R58/135 even after it is switched off. If you always calibrate the same wheel sensor type, it is only necessary to set the wheel sensor type once.
The setting of the wheel sensor type is not accessible during manual adjustment or when automatic adjustment is running.
If another wheel sensor type is to be calibrated, repeat steps a) to c) to set the desired type.